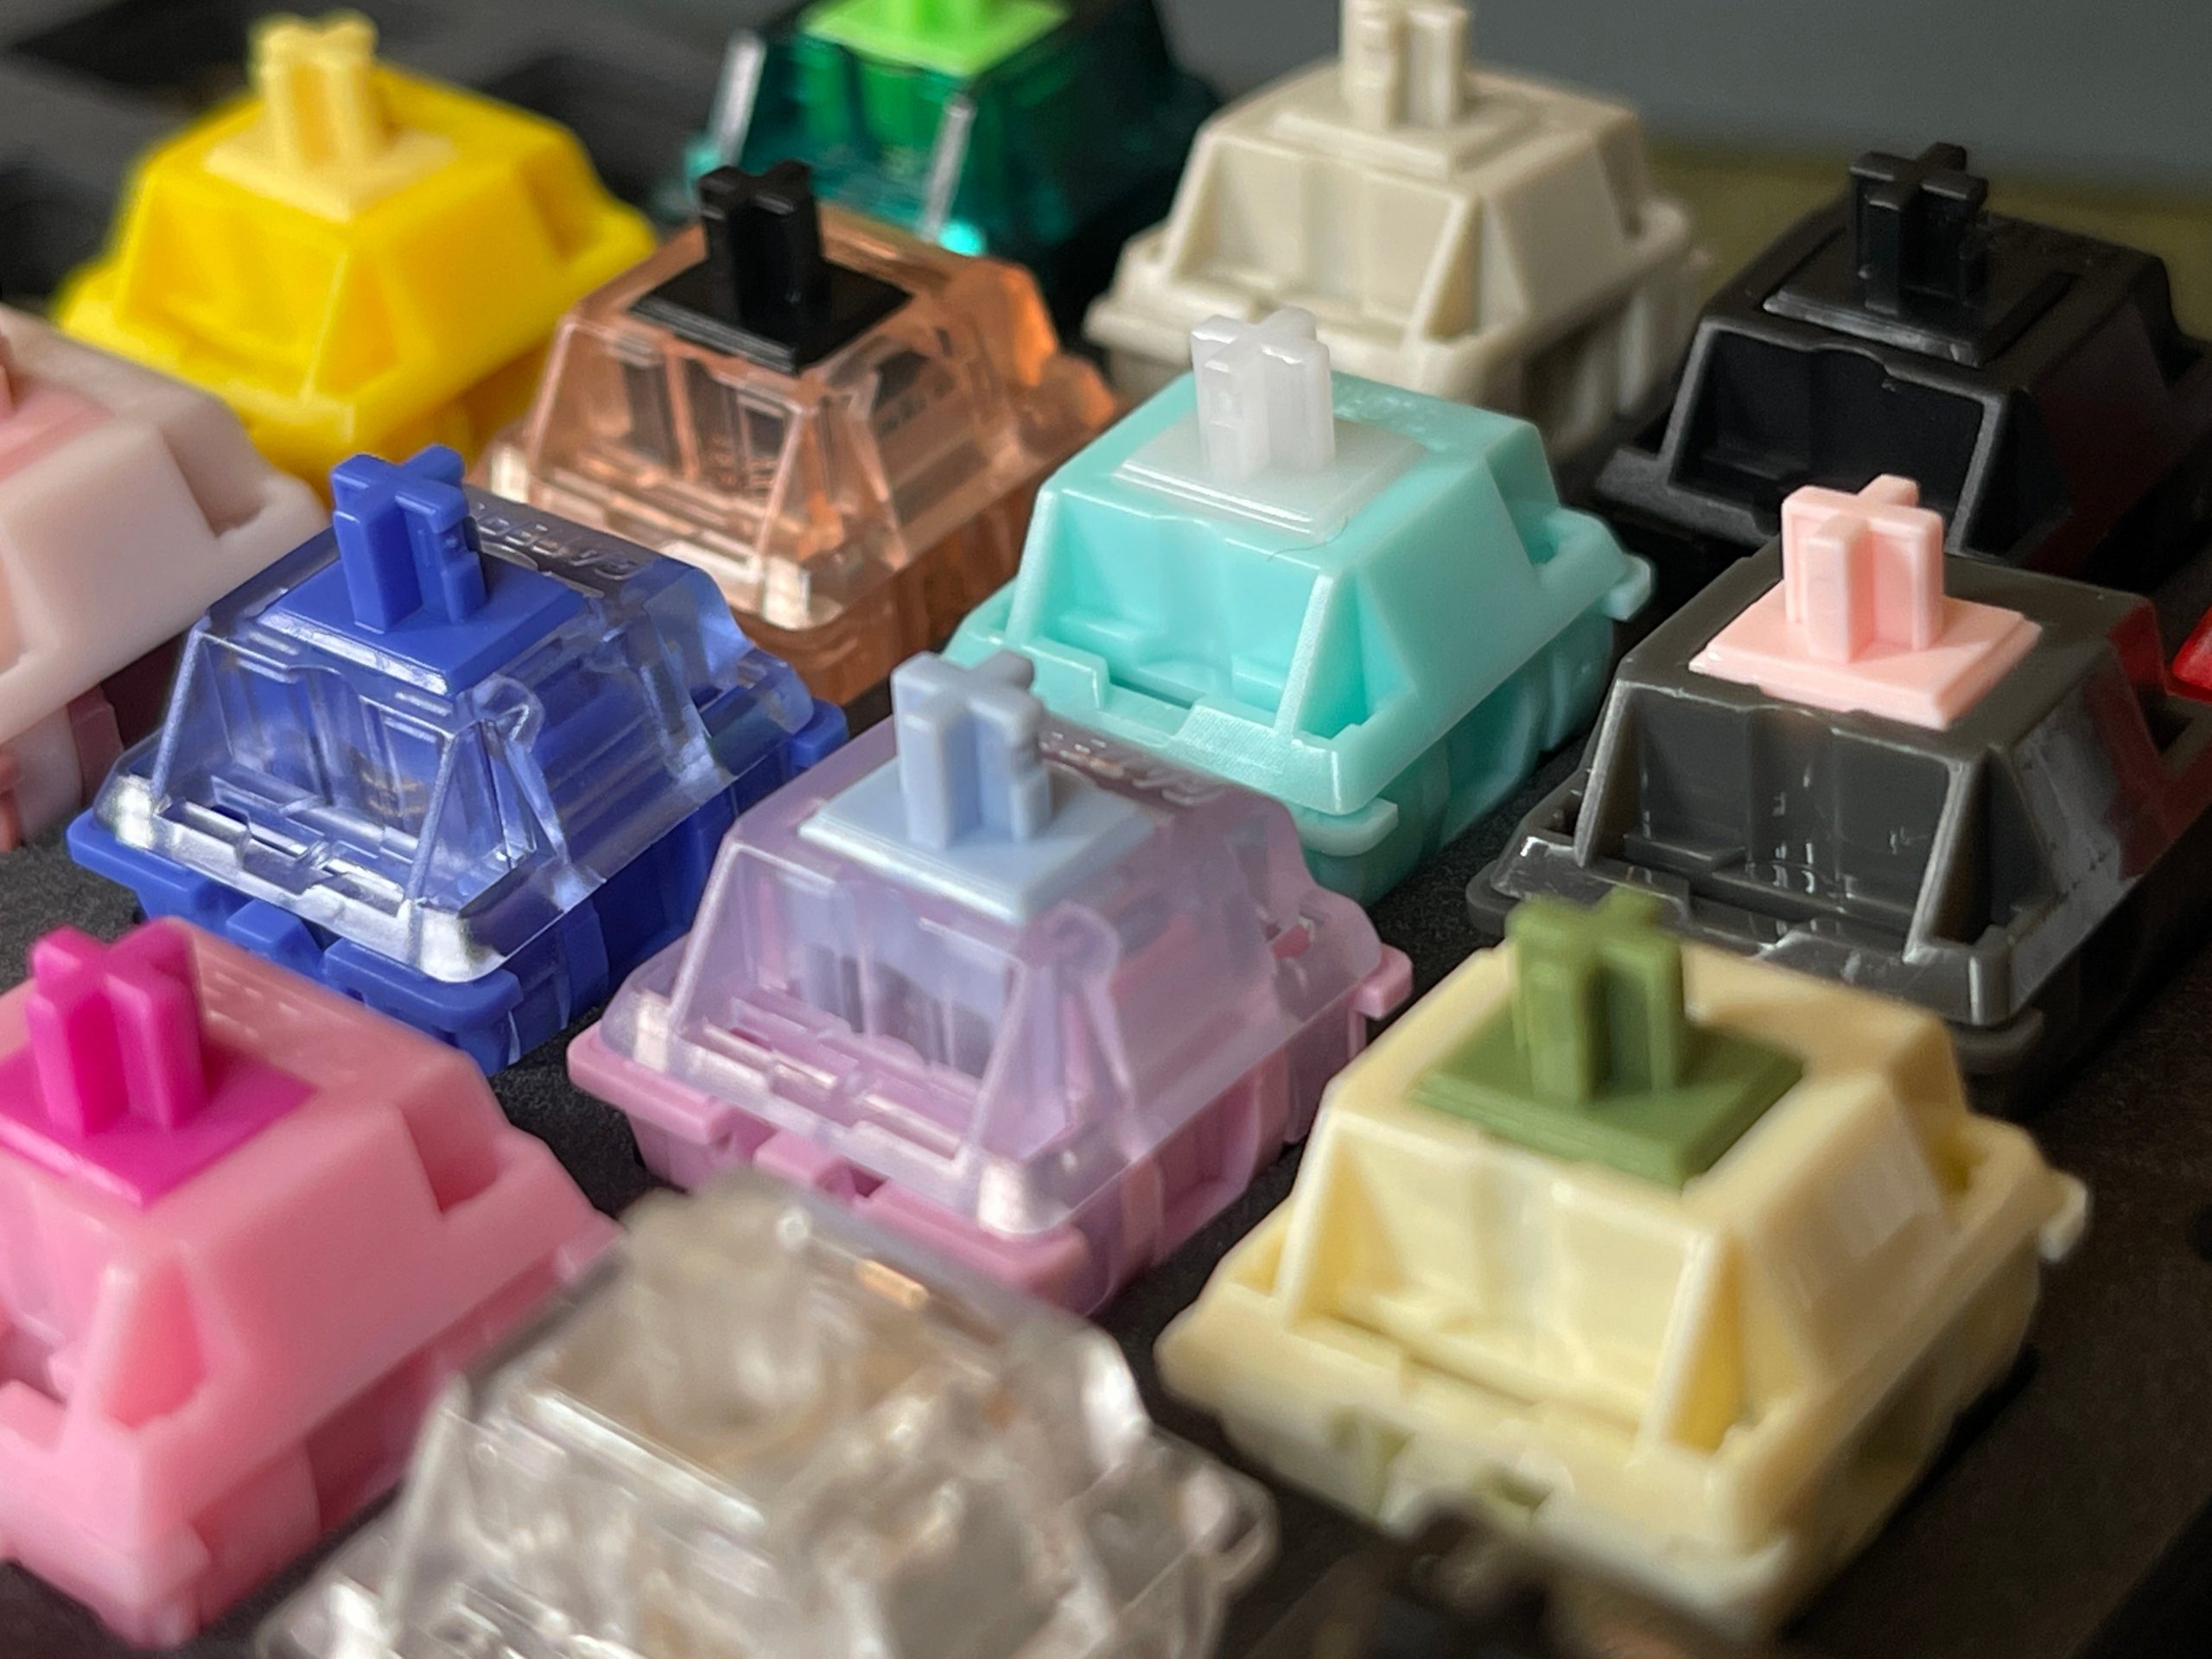
Mechanical keyboards have become increasingly popular in recent years due to their durability, tactile feedback, and customization options. However, not all mechanical switches are created equal, and some may not suit your typing preferences. In this article, we will guide you through the process of swapping mechanical switches to achieve the perfect typing experience.
Step 1: Choose Your Switches
Before you start swapping switches, you need to decide which switches you want to use. There are various types of mechanical switches available, each with its own characteristics. Some popular options include Cherry MX, Gateron, Kailh, and Zealios switches. You can research the differences between these switches to determine which one suits your typing style.
Step 2: Prepare Your Keyboard
Once you have chosen your switches, you need to prepare your keyboard for the switch swap. This involves removing the keycaps and desoldering the existing switches from the PCB (printed circuit board). You can use a desoldering pump or desoldering wick to remove the solder from the switch pins. Be careful not to damage the PCB or any other components while desoldering.
Step 3: Install the New Switches
After removing the old switches, you can install the new switches. Make sure the pins are aligned with the holes on the PCB and solder them in place. You can use a soldering iron and solder wire to do this. Be careful not to apply too much heat or solder, as this can damage the switch or PCB.
Step 4: Test Your Keyboard
Once you have installed the new switches, you need to test your keyboard to ensure everything is working correctly. You can use a key tester or software to check if all the keys are registering properly. If you encounter any issues, you may need to troubleshoot and fix the problem before using your keyboard.
Conclusion
Swapping mechanical switches can be a daunting task, but with the right tools and knowledge, it can be a rewarding experience. By choosing the right switches and following the steps outlined in this article, you can customize your keyboard to suit your typing preferences. Remember to take your time and be careful when desoldering and soldering to avoid damaging your keyboard. Happy typing!


